

Easy Coil Pots Techniques
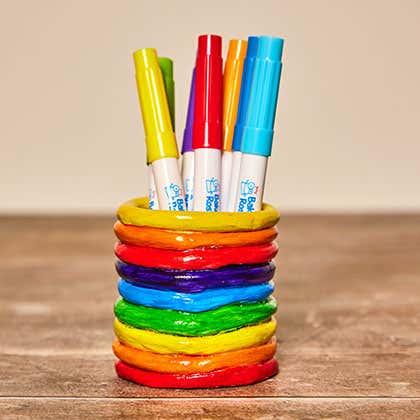
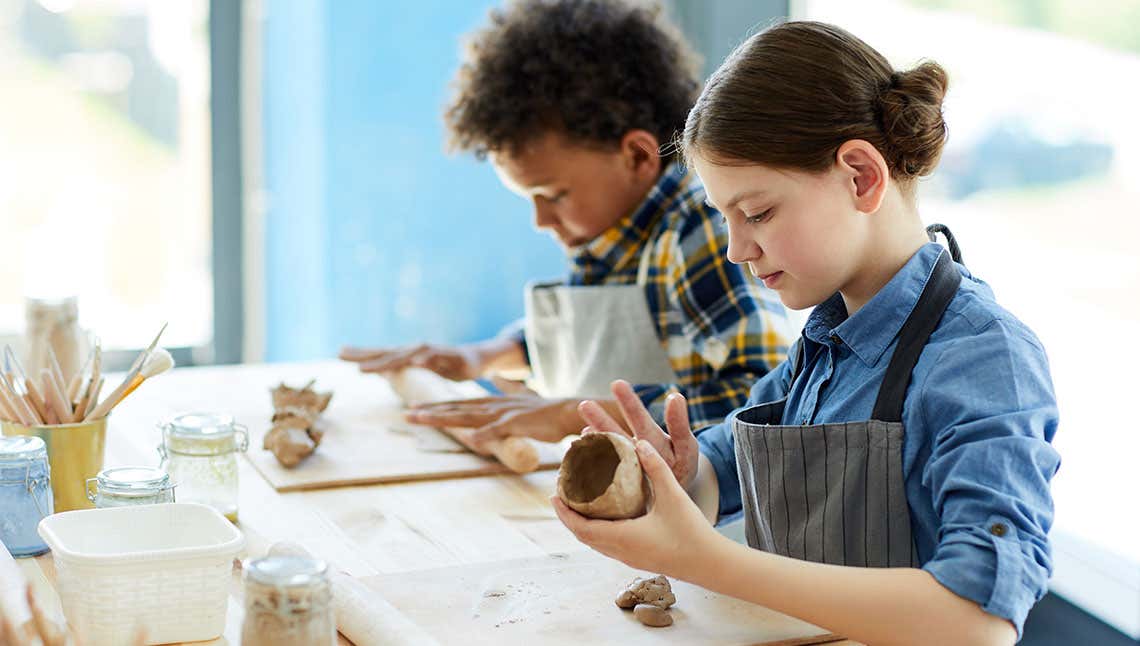
Any grown-ups reading this will most likely have a fond memory of making their own easy coil pots when they were younger. It is a staple of many toddler and infant art activities and one that will always be enjoyed by children. Often known as thumb pots, these easy beginner coil pots are the perfect way to introduce youngsters to clay modelling. As the clay is soft and tactile and lends itself to being squished, rolled and smoothed by hand it is also makes a great sensory craft activity.
That said don’t be fooled into thinking easy beginner coil pots are only for younger children as the coil pot technique can be used to create more intricate and detailed designs over time as crafters skills and experience improve.
How to make clay coil pots
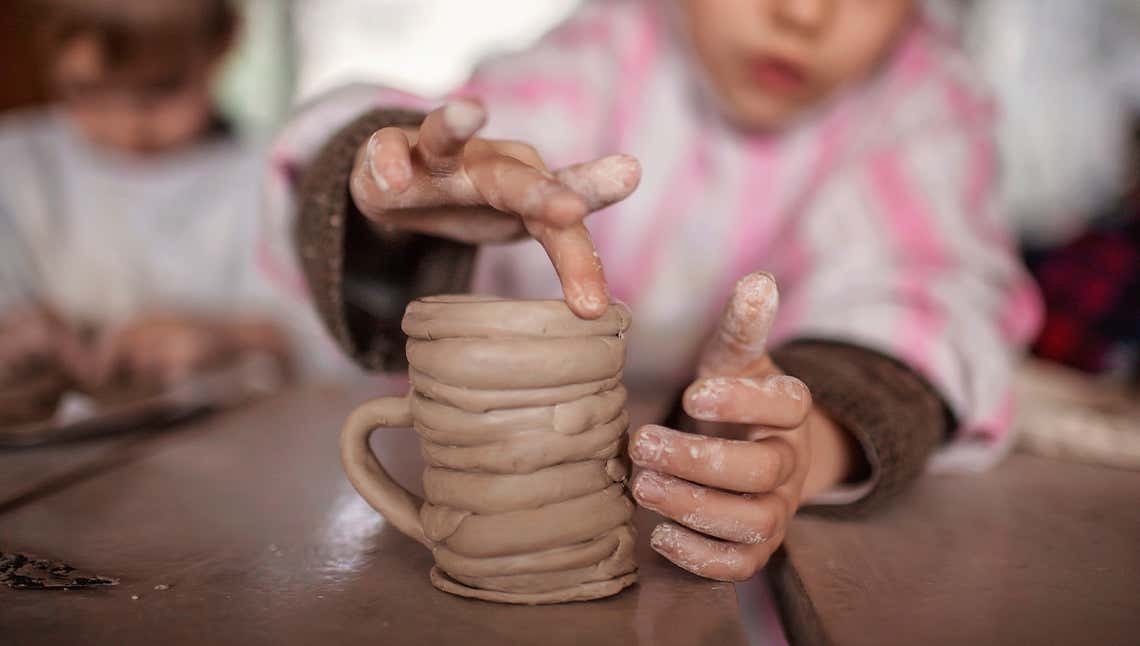
• To start, simply roll out your clay to make long coils of even width.
• Use our handy modelling tool sets to cut them easily and safely.
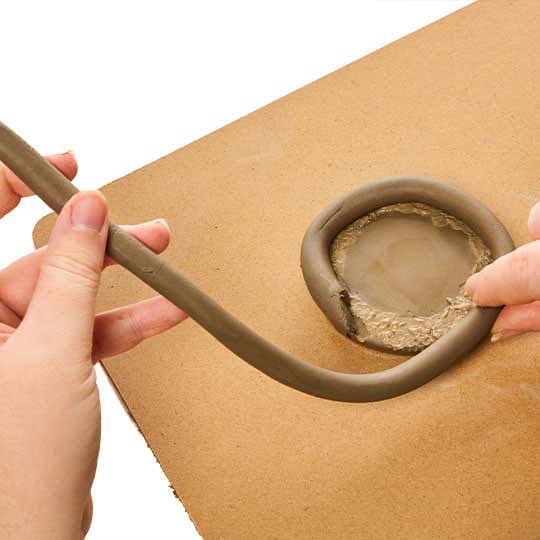
• Cut a flat circle for the base or if you feel more able make this from coils too.
• Make a ‘slip solution’ with some water and a little clay, you can use this as glue to adhere and smooth.
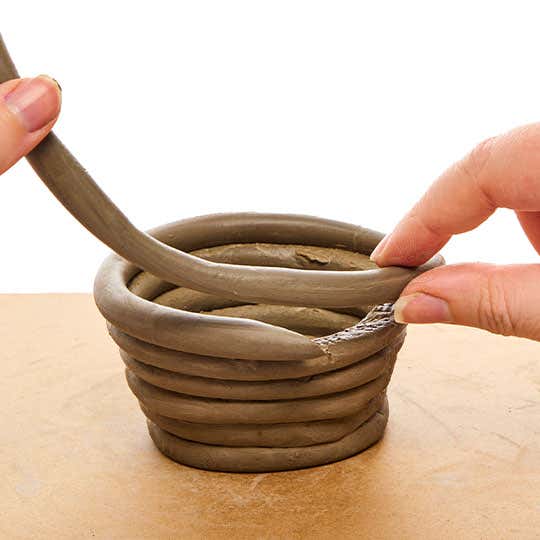
• Carefully place a coil on to the base and smooth, gradually add more to build up the sides of the pot.
• Be sure to smooth the inside well if you plan to use it to hold any liquid.
• Bake, or leave to harden, depending on the clay you have used. Decorate and enjoy.
• Decorate and enjoy.
Top Tip
Join the end of each new coil to the last one added to the pot, before working with it. That way you can ensure they are equal width making for a neater pot as the ends tend to be thinner.
What do you need to make easy coil clay pots
You don’t need much to get started. All that is required is some clay. We sell blocks of coloured polymer clay in a choice of bright or more pastel colours and a wide selection of modelling clay tools, rollers and cutters etc. Just decide what you want to make and get stocked up ready for some clay modelling fun.
Does clay need to be baked?
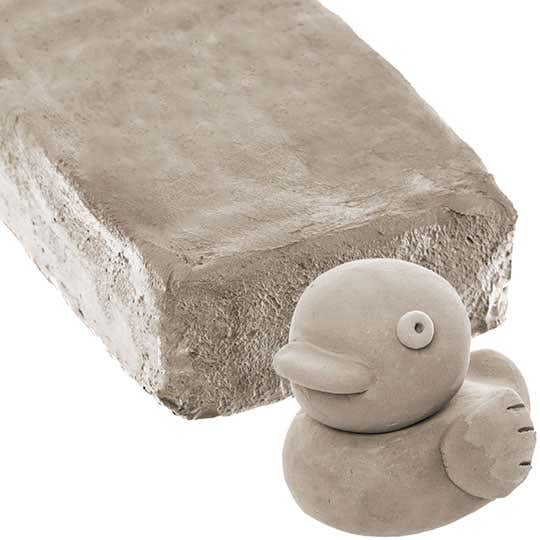
Baker Ross sells two types of clay, Polymer clay that needs to be baked at 135°C to set it permanently and mineral and water-based Air Hardening Clay that dries hard when exposed to the air.

Top Tips to get the best results with modelling clay
• Keep hands as clean as possible
• Use a wet wipe or water to remove any unwanted lumps
• This is important especially when using different colours of clay
• Decorate the surface using varnish or acrylic paint
• Smooth any rough areas with fine sandpaper
• Keep leftover clay in an airtight container to use later
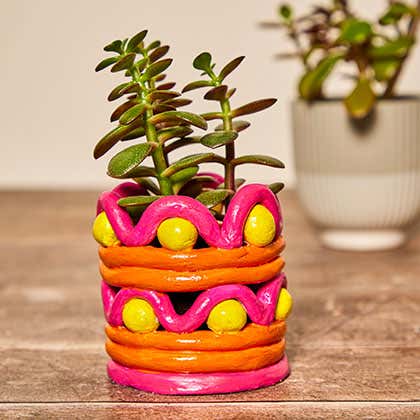
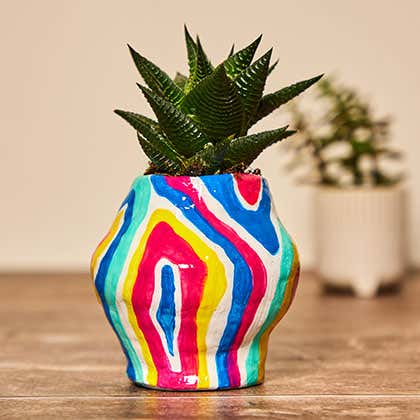
There are so many easy coil pot ideas to experiment with and of course they make great present ideas too. For some easy coil pot inspiration why not take a look at the Creative Station section of our website using the link below and see for yourself. The only difficult thing will be deciding what to make!