

Lino Printing Tips & Techniques
Lino printing is a printmaking technique that is gaining in popularity with beginners because it’s easy to work with, accessible and needs very few tools. Here we cover the basics of lino print so you too can create incredible art and find the joy in this printmaking method.
What do I need for Lino Printing?
To get started Lino Printing we have everything you will need. From soft lino sheets, lino cutters, printing ink and lino ink rollers. You will also need tracing paper, paper and a pencil. A craft tray will also come in handy here.
How to create your own lino print
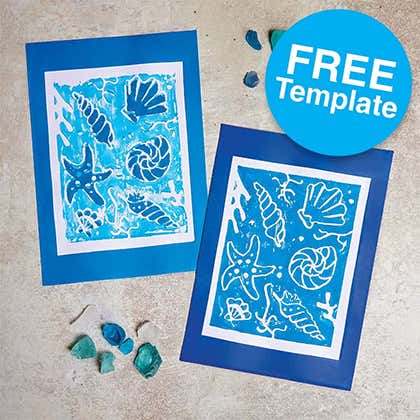
1. Draw your design or choose from our pre-drawn templates.
2. Trace your design onto tracing paper.
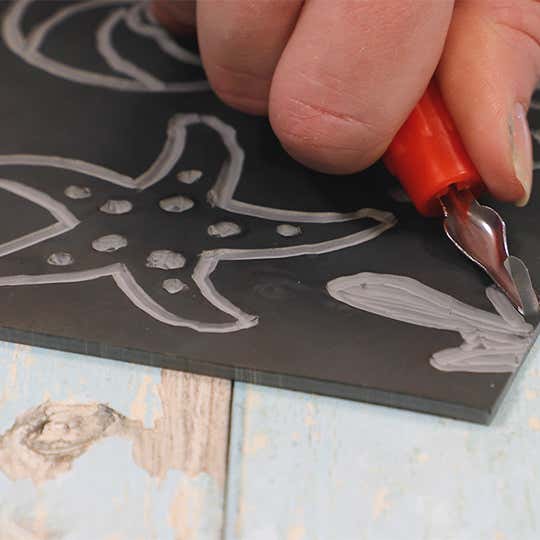
3. Now transfer your design from the tracing paper onto the lino sheet. Simply go over the design with your pencil, pressing a little harder than before.
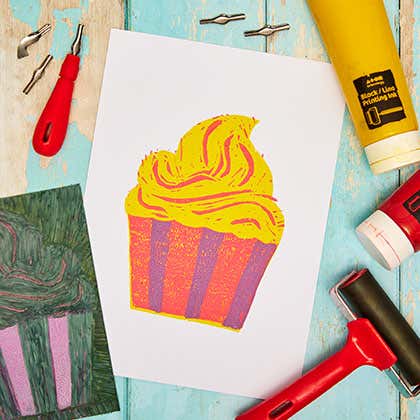
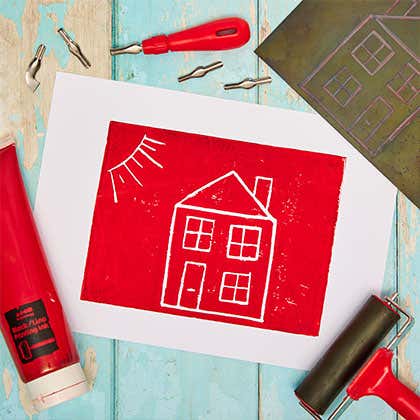
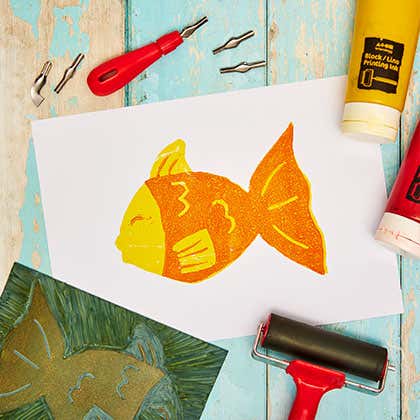
4. Using your lino cutter, carve along the lines you’ve just drawn. The parts you cut out will remain clear of colour when you print them, and the areas left will be in the colours of your ink.
5. Add your printing ink to your craft tray (mix colours on the tray if needed) then go in with your roller. Once the colour is evenly distributed on the roller, roll and press against your lino print.
6. Pick up your lino print and press onto your chosen surface. Here use a clean roller to really push the ink in. Peel back and admire your masterpiece!


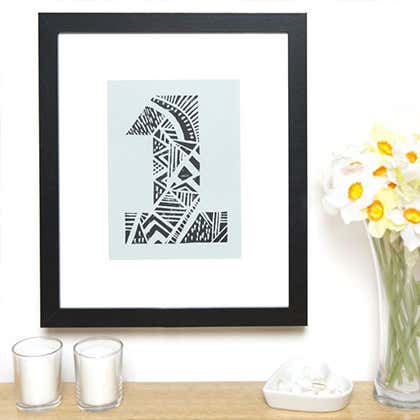
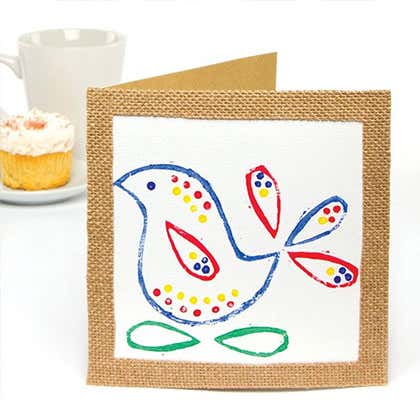
For lots of lino printing inspiration check out these helpful tips and ideas on the Creative Station section of our website. Follow the simple steps there and use the accompanying photos to guide you.