

Marbling Ink Beginners Guide
Making DIY marbled paper is so much fun. This timeless painting technique creates unique works of art with every dip. Here we cover the basics of marbling and show you the amazing results that you can achieve.
What do I need for paper marbling?
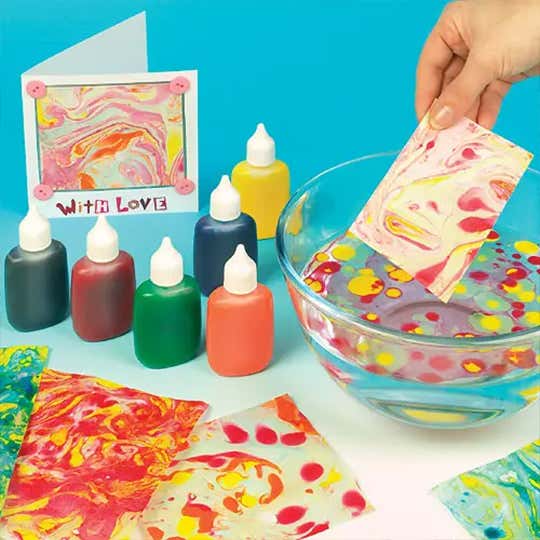
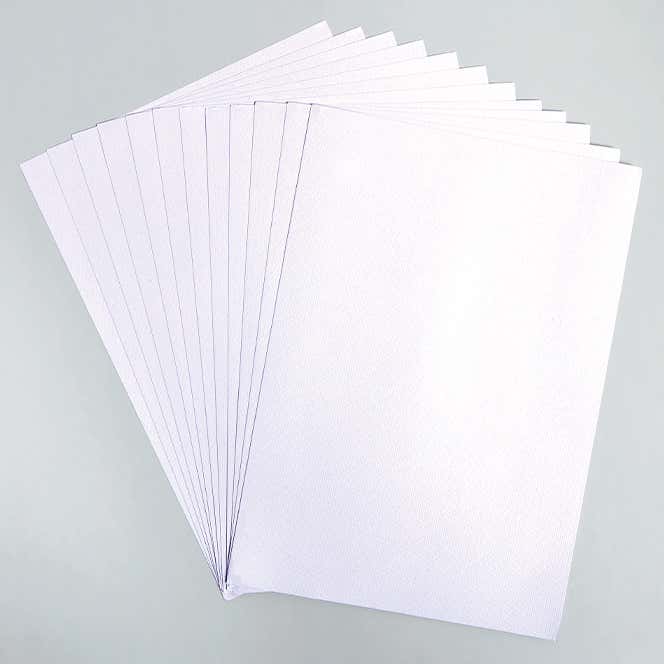
All you need is a selection of marbling inks, a piece of watercolour paper and something to swirl the ink with – not forgetting a tray with deep sides! Choose a paper size that fits comfortably in your tray.
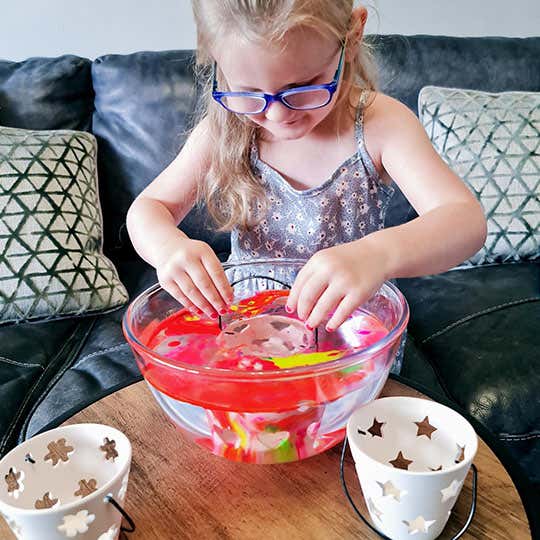
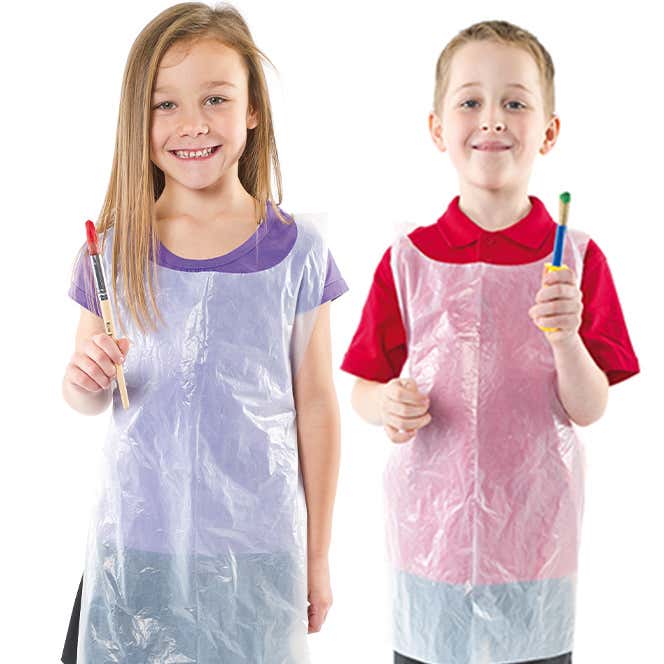
1. Gather your craft items and fill your tray with water. It is a good idea to protect yourself and work surface from water or ink, using an apron and mat.
2. Taking your marbling inks, add a few drops of colour in different places of the tray. Then taking a paint brush, or craft stick, gently pull the ink together to create a slight pattern. Using two or three colours works best for this technique.
3. Now you’re ready to place your paper down onto the ink. The important part here is to make sure the paper in floating on the water rather than submerging into the water. This is the moment where the paper absorbs your inky pattern. Peel back the paper from the end furthest from you. You’ll be amazed at the stunning results time after time.