

Papier Mâché Crafts
Papier mache or paper mache
So many people get confused with the spelling and even the pronunciation of this enjoyable paper craft. Is one right and one wrong or is it simply a case of personal preference? If you check most English dictionaries you will see that the correct spelling is in fact papier mache and not paper mache. But that said whichever way you say or spell it most people will know exactly what you mean!
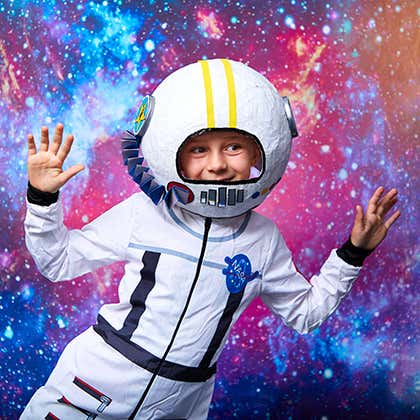
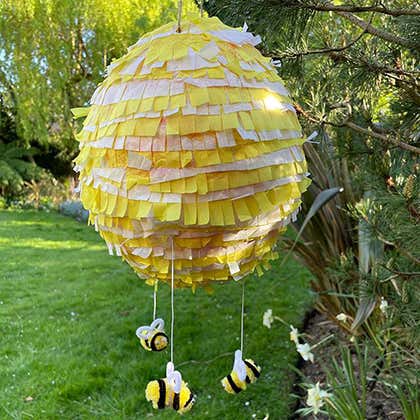
Enjoying some papier mache art is almost a rite of passage in most primary schools at some time. Whether used to make a model or face mask children love the process as it calls for water, glue and a bit of mess but always results in lots of fun.
What do you need to make papier mache?
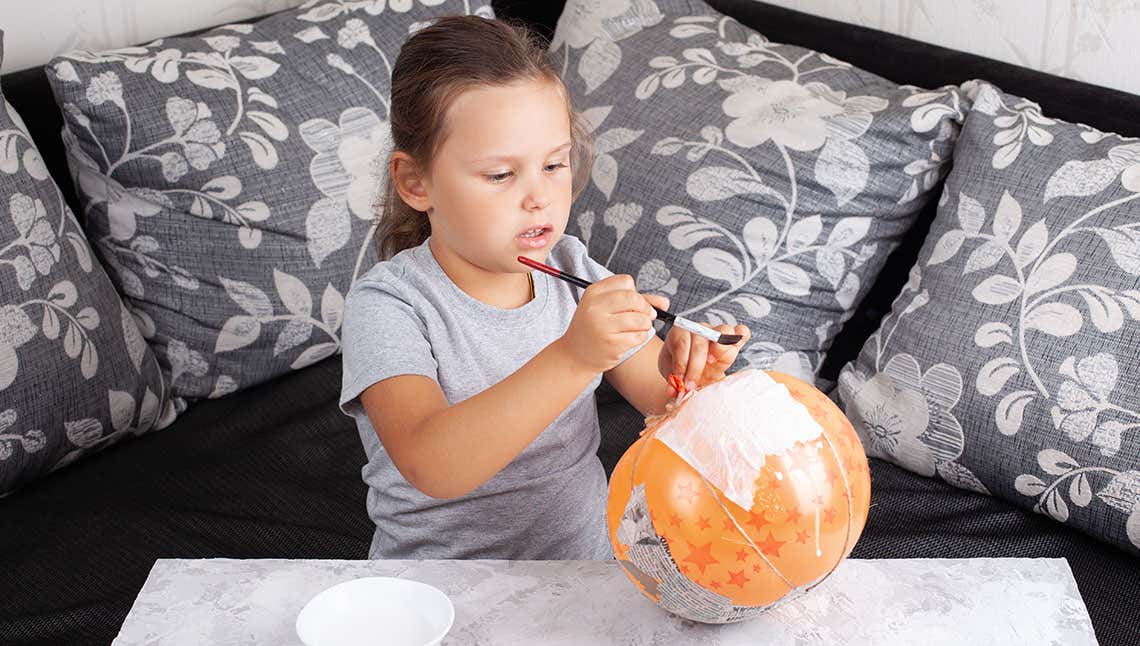
- • Newspaper or paper torn into strips
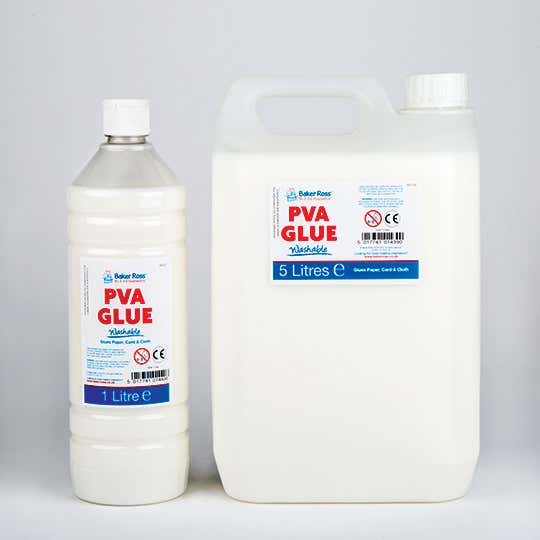
- • PVA glue
- • Water
- • Paint
- • Varnish
Tearing gives a better result than cutting and is much more fun. You’ll find glue and other crafting essentials such as colourful glitter glue pens.
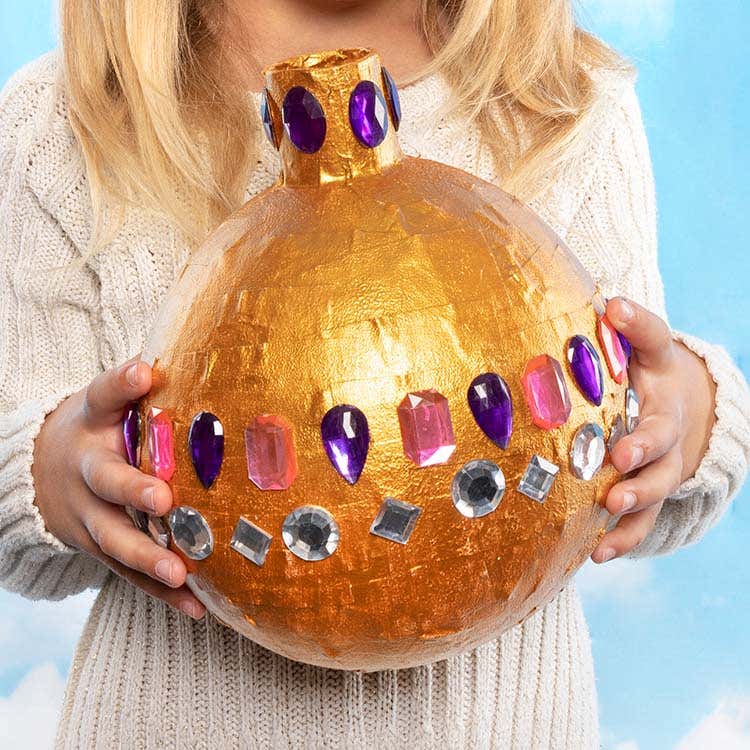
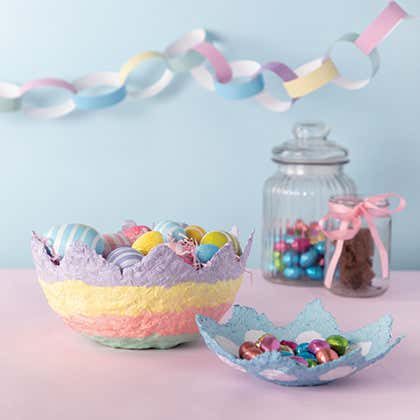
Papier mache is a mixture of paper or pulp that is bonded together using either glue or a mixture of flour and water. The result is a malleable mixture that can be easily shaped by hand. Once dry it sets hard forming a solid surface ideal for painting or decorating.
It is often used for large scale pieces of sculpture or art. One of the many benefits it offers is the fact that it is cheap to make so is ideal for temporary use such as decorating huge carnival floats or art installations and school projects.
When used this way a thin frame is usually constructed from wood or chicken wire mesh to act as a base frame and the papier mache then added. Once dried it can be sanded and decorated.

Top Tip
Be sure to allow each layer to fully dry before adding the next one.
How long does papier mache take to dry
It can take a while for each layer to dry out so it can be a lengthy process however this is ideal as a project to make with younger children as you can come back to it several times if desired over a period of time. A welcome relief to parents if the kids have a short attention span! And ideal for teachers as an ongoing papier mache crafts art project too.
The minimum amount of time needed is about 12 hours but 24 is best especially for the first base layer as that will form the foundation for everything on top so you’ll want to be sure it is extra sturdy.
How best to dry out your papier mache?
Whether at home or at school try to leave it in a well ventilated room. You can speed it up by placing near an open window or leaving in direct sunlight or outside if it not raining. Just don’t forget to bring it inside later.
Problem solving
If the surface does not feel hard after leaving it overnight there may still be some pockets of water trapped inside so the best thing to do is to leave it to dry a little longer before continuing. It may be that you have used a little too much water or glue solution so try to reduce this in subsequent layers.
We hope that after reading this you are raring to get started with some papier mache fun. Whether it’s a fun activity at home or a spectacular classroom art project please do let us see the end result.
Deciding what to make can be difficult as there are so many great things you can make with papier mache crafts. We couldn’t choose our favourite idea to share with you as they are so good so we’ve added links to lots of Creative Station ideas below: